Tuesday, May 31, 2005

Everything You Need to Teach and Learn Online

Get the audio recording that will talk you through this screencast


eGroups

I think eGroups are the first place to start in any group communication online. You could effectively run a whole course through an eGroup alone. I use GoogleGroups to run an eGroup.
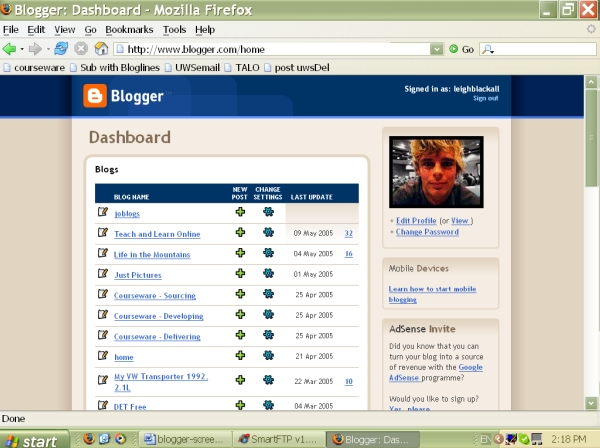

Weblogs

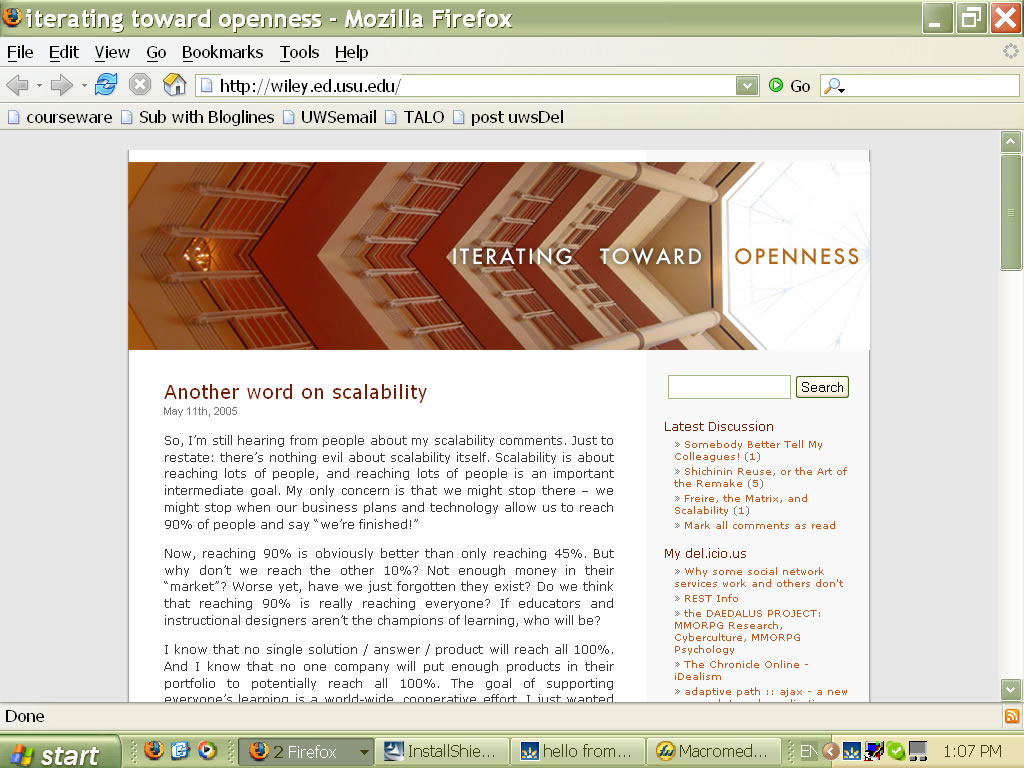
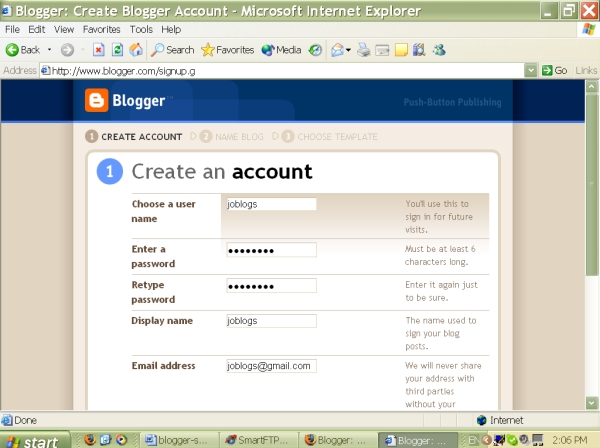
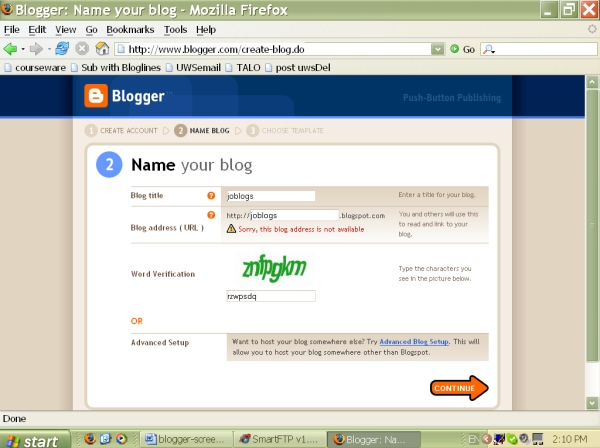
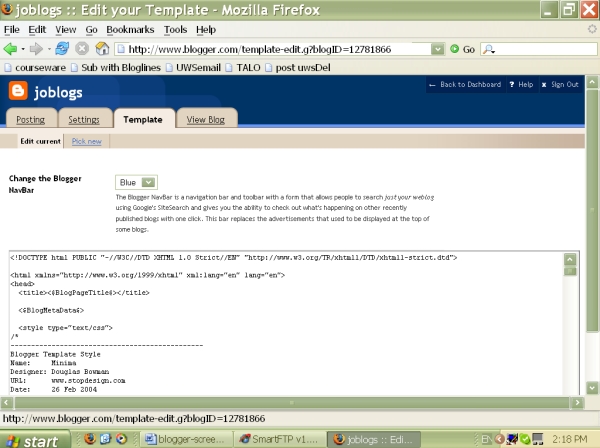
Blogger is still my preferred method of web publishing as it is sooo easy to set up and maintain. I have tried out other blogging tools, but in the end I reckon Blogger is still the best. I use Blogger to post relevant information about the sessions for students to check out, as well as assignments and links. When it is important I always post to the eGroup as well, telling everyone to check out the blog(or you can even set up your blog so that it automatically emails your posts to your email group).
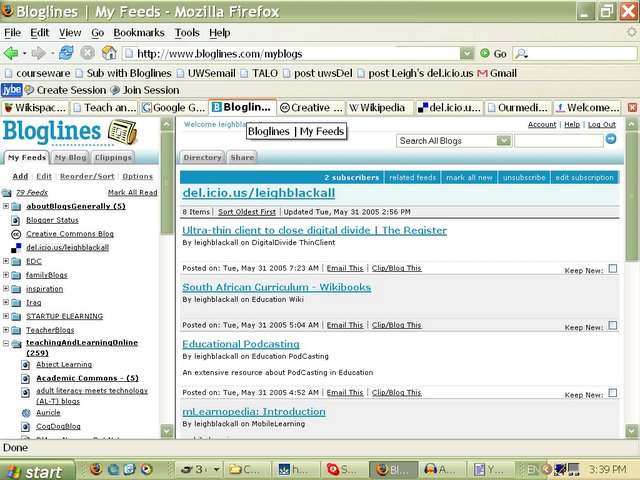

News Reader

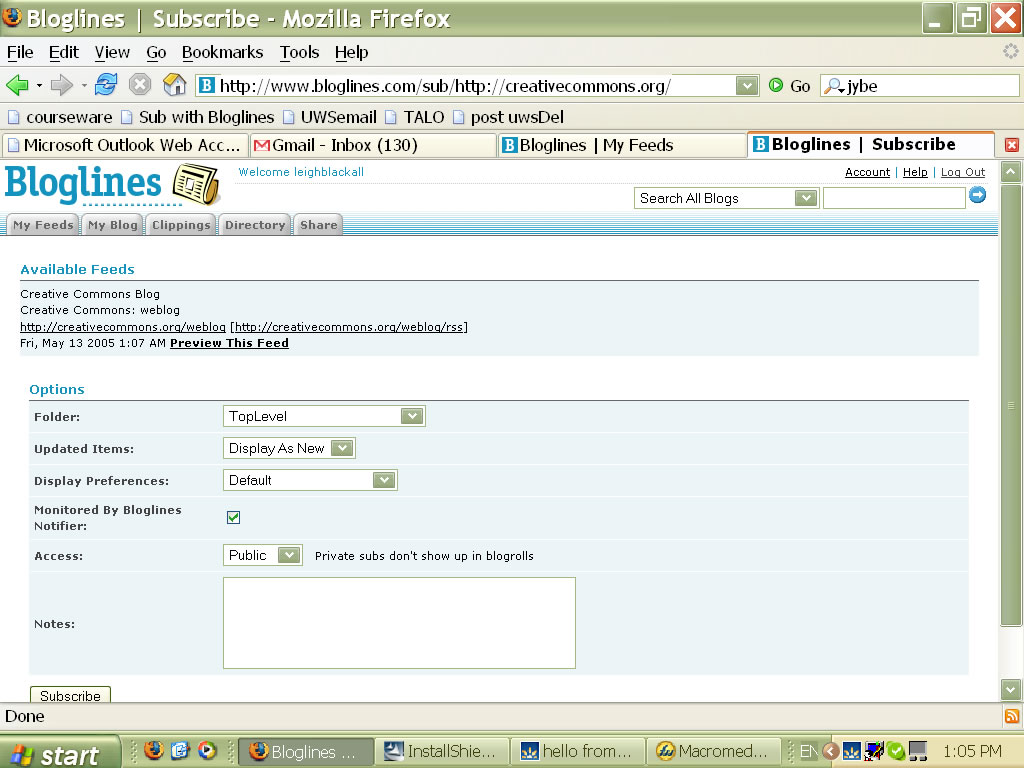
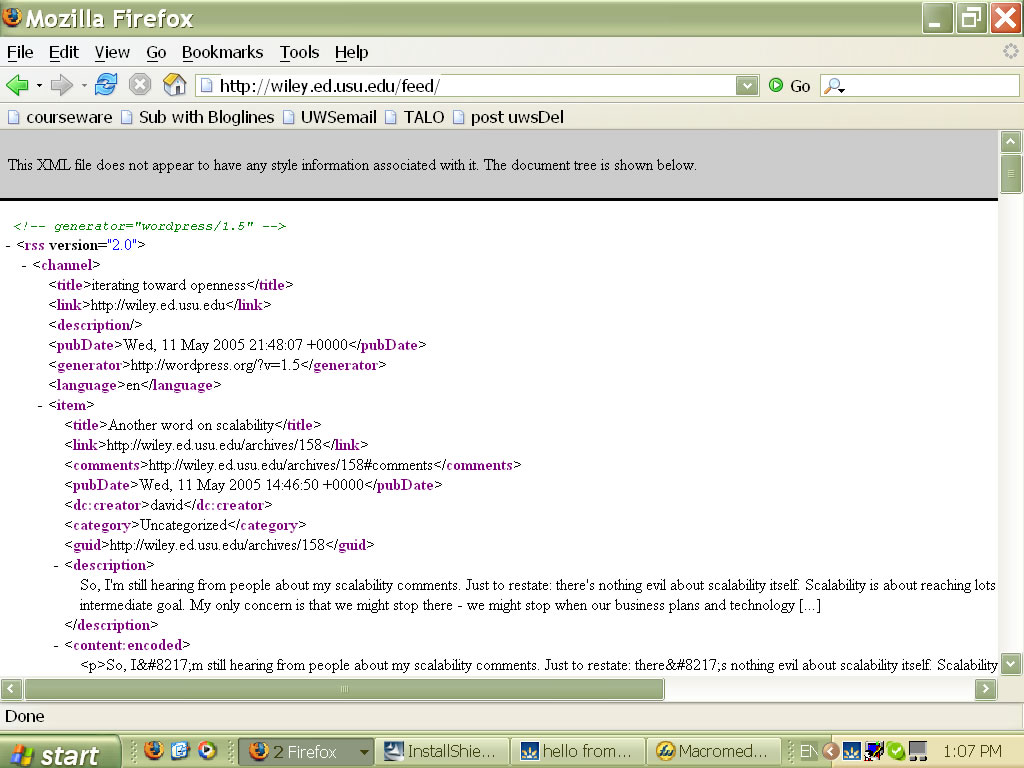
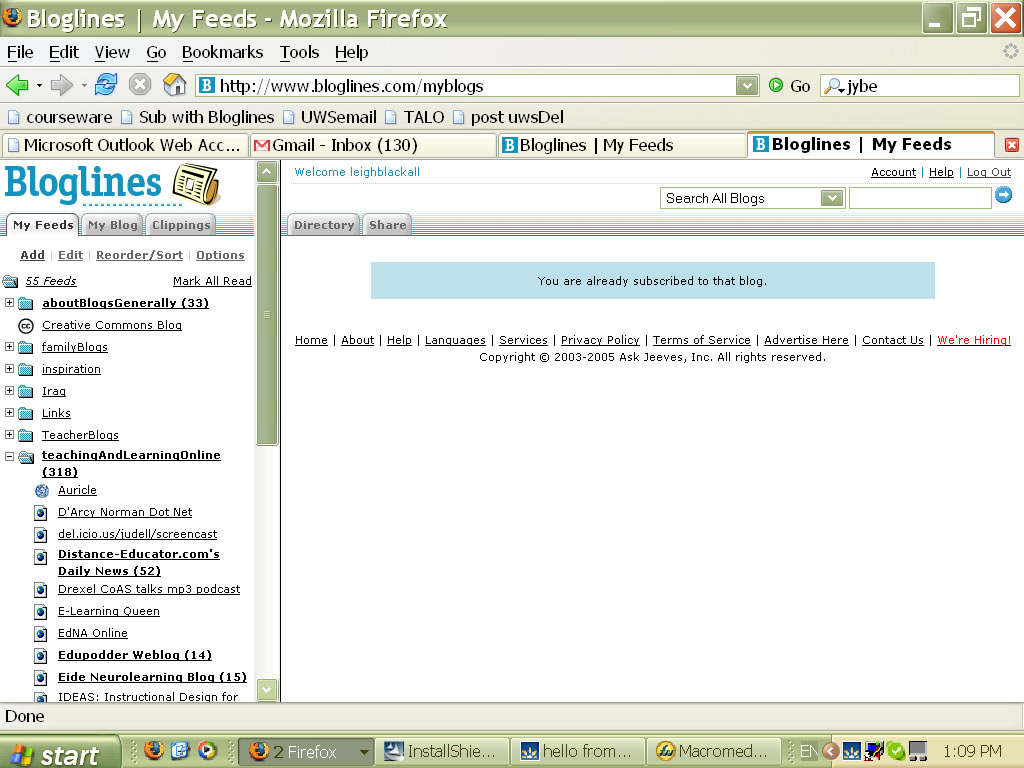
All blogs produce a news feed, which is machine summary of a site for newsreader accounts to display. I use the Bloglines newsreader to keep track of a great number of news and information, including student blogs, teacher blogs, industry news and other interests.


Media Making - MP3

Next you will need some tools to create media. I generally only create MP3 and PDF. Sometimes I create movies in Flash and video. For creating MP3s while on the move, such as seminars and spontanious interviews, I use a USB MP3 player and recorder. When I'm at the desk I simply plug a microphone into my laptop and record straight into the free and easy program Audacity.
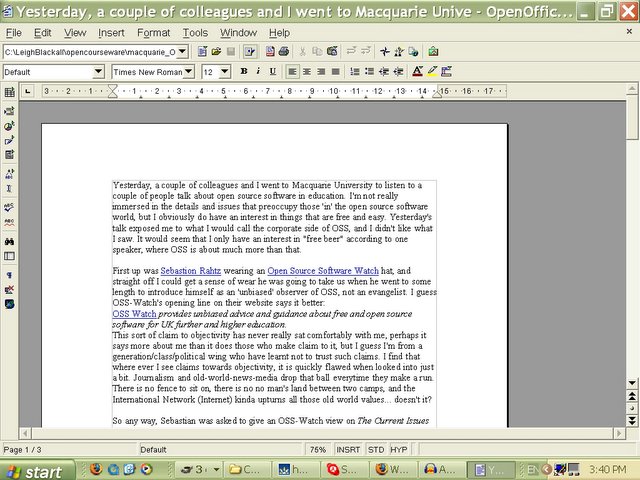

Media Making - PDF

For building documents, fliers, presentations, and other types of handouts, and then turning them into PDFs I use Open Office- the free and open source alternative to Microsoft Office. But if you are stuck with Microsoft Office products for a while, then PrimoPDF and PDF Creator are 2 options for any windows application.


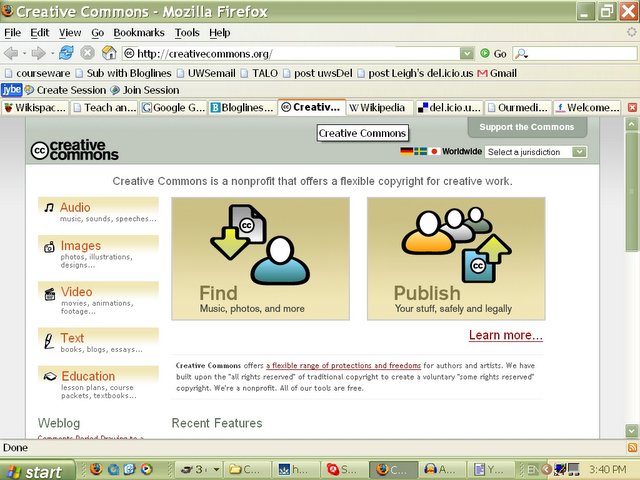
Sourcing Content That Already Exists

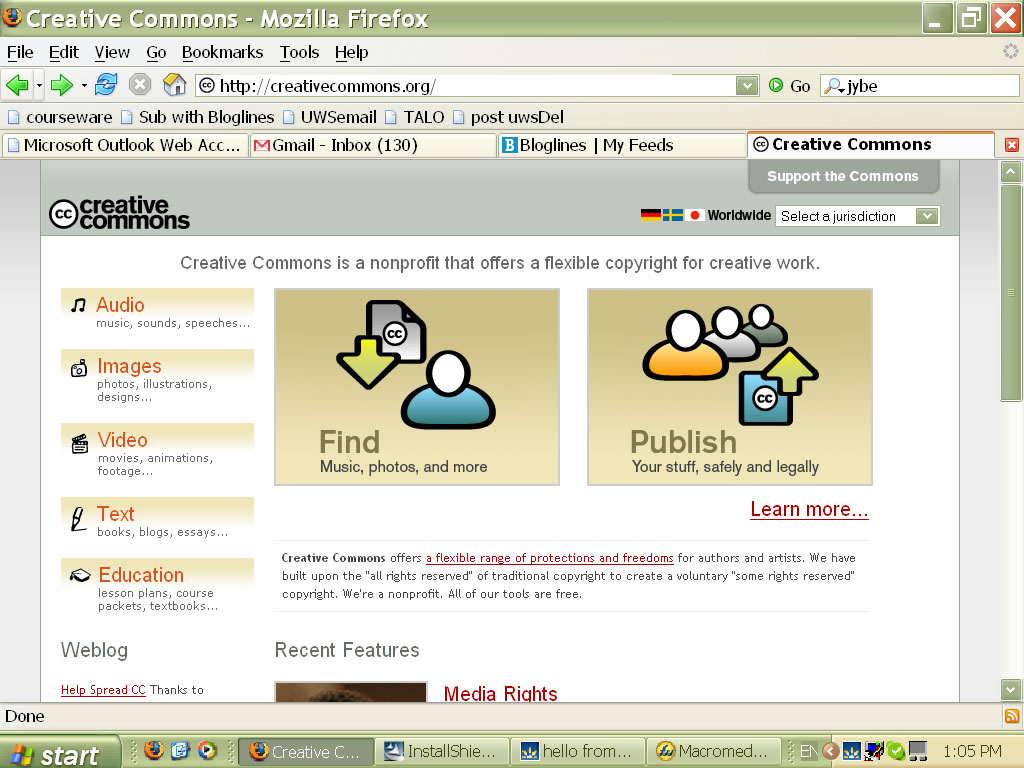
Now, there is loads of stuff on the internet ready for you to use. You have probably heard some of the banter about reusable and sharable learning objects... SCORM... XML... IMS and stuff. Ignore that! Focus on your teaching. All you need to know in relation to that is if a resource is digital, and accessible to you on the internet, then it is reusable and sharable so long as copyright permits it. So copyright is what you really need to concern yourself with. But thanks to the Creative Commons its actually quite simple. You can source a whole bunch of stuff from the Creative Commons and the copyright license to all of it is easy to see and understand. As the name implies, it is for the commons, meaning you and I can use it and contribute to it!


Collaborative Online Writing

Another way to develop resources is to set up an online collaborative workspace known as a wiki (this article was created using a wiki). Wikis are amazing and they're the flavor of the month for me these days. Wikis are text authoring tools based on the internet, that anyone can see and edit through a web browser. Check out Wikipedia to see how amazing this openness can be. I think wikis should become central to the creation of learning resources. Teachers and students from around the world will collaborate on the continuous development of learning resources - even translating them into multiple languages as WikiPedia has done. I mean, WikiPedia is basically it already, all we educators need do is fill in any gaps. If your resources don't suite wikipedia, then you can set up your own wiki very easily at Wikispaces.


Internet Storage - bookmarks

Next, you need a place to save and manage all your links to websites, wikis, blogs, eGroups and Creative Commons media. My advise is to stop using your browser bookmarks and start using a web based bookmark service such as Del.icio.us. Del.icio.us not only offers the flexibility of being able to access your favourites from any Internetworked computer, but it also automatically links your favourites to other Del.icio.us users who have saved similar links. This is called social software and it is very useful for sourcing good content and information. How about you start off by having a loook at my account.


Internet Storage - Media

Now, you have your eGroup, your blog, your content, your creative commons library, your collaborative writing spaces, and a place to manage all your links... now you need somewhere to store your media content so that your users can easily download it. In the past I have used free server space such as Yahoo's Geocities, and my own Internet Service Provider's complimentary webspace to store MP3s and PDFs. But these services are pretty limited...
Its early days yet, but OurMedia.org promises to be a great place to store unlimited amounts of content for linking to from your blog and emails. OurMedia will soon be the place to store all your MP3s, PDFs, movies and other stuff free or charge. Of course, they encourage you to use a Creative Commons license so others can share it. So watch OurMedia, I think big things are on the horizon there.


But Wait! There's More

There's quite a bit more worth looking at, but my guess is that if you follow this guide you will inevitably come across all the other great things along the way. Flickr for one has developed a fantastic free and webbased digital image sharing service. Flickr can be used as a photo album, an alternative to powerpoint presentations, and a place to interact with others around an image or series of images. So, it never ends really. The best advice I can give is to stay immersed in it, join an eGroup, start your blog, track other people's blogs, and stay in the loop. Learn to love it, and you will gain so much from it all. In 5, 10, 20 years time your students will point to you as the teacher that really showed them a whole new world.


Creative Commons License

This work is licensed under a Creative Commons License.


Bloglines Screencast

Get the audio recording that will talk you through this screencast


Today we will be looking at a way to stay in touch with your favorite site's news and recent information. This is known as news feeding or RSS. RSS stands Really Simple Syndication but don't worry about that, RSS may as well be the word to use as its the most commonly understood. What RSS is is basically a snapshot summary of a webpage's content at a given moment. That summary is then sent to a news reader, and presented along side all the other website RSS that you the reader have subscribed to. So what you end up with is the ability to overview the content of many many websites from within the one window. RSS can be a very useful thing to us in education. It offers us a way to keep updated and current on new research and information, if our students are keeping online journals we are able to monitor them, and if our colleagues are keeping online portfolios we can keep up with what they are doing. By using a news reader to subscribe to various news feeds we can dramatically improve how informed and up to date we are on many things at the same time. Today, I am going to demonstrate using a popular newsreader called Bloglines and how to go about subscribing to a newsfeed.


So, if you took notice of the screen image before this one, you will have seen that I was on the Teach and Learn Online website, or blog. Now I have switch to my Bloglines account to show you what that same website looks like if viewed from within Bloglines. While I have lost all the unique colours and designs of the site, the core content - being the actual articles on the site today - are retained. Take a little look at my Bloglines account. On the left are all the sites I subscribe to. Some of them are bold and some are not. The ones that are bold are ones with new articles that I have not read yet. When I actually go in and at least view them, they switch off their bold display. On the right are a number of features. In the blue bar it tells me that there are 5 other Bloglines users who subscribe to this sites newsfeed (I can click that link and it will show me the public folders of those other subscribers. That can be useful in looking at what others with similar interests are subscribing to). I can check out related feeds, I can unsubscribe from this particular feed and I can edit the subscription.


Now, subscribing to a site is very easy. There are a few ways to do it. I will show you 2. If you scroll down the left hand panel to below the list of my subscriptions, there are a bunch of links under a title called "extras". One of those links is called "tips", when you click tips that will open a random help page on using Bloglines in the right hand panel. There are currently about 10 pages with handy tips on using Bloglines, you only need to click the next tip link in the top right of the right hand panel to view each help page. The one I am on in this screen is the Bloglines Subscribe Button. Depending on what Internet browser program you use, here there are a number of buttons that you simply click, drag and drop onto your browsers quick link bar. Have a look at my browser window. See on the bar just below the website address field? There is a quick link that I have renamed "Sub With Bloglines". All I do when I find a website that I think I'd like to stay informed on, is click that link in the browser bar. It will scan the website I have open in the browser and find the RSS or other newsfeed file. If it finds one it will take you through a 1 step subscription process. Lets try that out...


OK, so I have found a website that I want to stay very informed about. Any new news or information coming from this site, I want to know about. So long as this site produces a newsfeed - and most do these days - I should be able to subscribe to it through my Bloglines account. So I'll click the "Sub with Bloglines" button that I have placed on my browser links bar and see what happens...


Bloglines has found the newsfeed file and proceeded to the subscription stage. If it didn't find a newsfeed file, it would simply tell me that it didn't and I'd either send an email to the site's webmaster asking about it, or try subscribing to the site's actual news pages. Some sites actually reduce more than one newsfeed file. This is to service old and new newsreader technology, or to deliver category based feeds. All you do is select one or more from the list that Bloglines comes up with and click subscribe. In this case, the site I am subscribing to produces one feed file, so its easy...


And here it is! The feed is linked on the left hand panel, not yet catagorised into a folder, I will do that later. I have clicked the link and it is now displaying all the recent news from the site. Pretty easy hey? But what if I was on someone else's computer and didn't want to create a button on their browser's link bar? How would I then subscribe my bloglines account to a newsfeed?


Ok, so I'm on a university computer. I'm not sure if the browser will let me create a subscription button on the links bar, and I don't think I'd want to do that anyway in case the next user had access to it. I have come across a website that could be very useful later, and I want to be kept informed of any new articles posted to this site. What I need to find on this site is a link to its newsfeed. Most sites that produce a newsfeed offer a link to it for users who are manually subscribing. I suspect that this site will offer a link in the page footer...


I found the link, it was just a bit of hypertext reading "RSS Newsfeed", I have clicked the link and it has opened up this can of worms! Don't sweat it! Its just the machine readable newsfeed file. All we need to get is the URL or address of this file. I'll just copy the address and login to my Bloglines account...


On the left hand panel, in the top left is a link called "Add". Clicking this has opened the manual subscribe page in the right hand panel. I've just pasted the address of the feed I copied, then all I do is hit subscribe...


Oh! Bloglines is just letting me know that I am already subscribed to this site. That's good - its really managing things for me...


Here it is! And here are all the unread articles I need to catch up on. Well, I'll scan them at least for things of interest. There's loads I can still do in Bloglines. I can send articles to a clippings folder, where it will save all my favourite articles for future readings, I can use Bloglines to create a public weblog of the readings that I think are good. Librarians could find this useful. And there other stuff I haven't even looked at yet...


But here's a folder I keep of a class in website design I enrolled in this year. The teacher keeps a blog type website and had all the students do the same to record their learning and reflections. The teacher has a bloglines account in which he has subscribed to all the student's journals, and I then went into his public bloglines folder and copied his subscription. So not only is Bloglines helping him to keep track of his student's learning, but I am able to follow the progress of my fellow students. It really is an amazing tool!


Creative Commons License

This work is licensed under a Creative Commons License.


Blogger Screencast

Get the MP3 that will talk you through this screencast


With many enhanced features, remarkable ease in use, and the notable increase in popularity for keeping an online journal, Blogger is likely the most widely used of the free web journal services on the web at the moment. There are many good reasons for keeping a web journal, but I won't go into it here. I'll just assume that if you are viewing this screencast you are probably already aware of some of the benefits and just want to get an overview of how to get started with Blogger.

There are new web journal services popping up all over the place, and there are other tools you should learn to use in conjunction with your web journal so keep looking around and watch out for more screencasts.

OK, lets get started. If you have not joined Blogger yet, you will see this screen. It is 3 easy steps from here to get your journal going, so after looking at the information on what is a blog, click the big orange arrow that says create your blog now.


Step one, create and account with Blogger. Just 5 fields to fill out, your user name password times 2, display name and email address.

Now, some people like to use a nick name or pseudonym as their user name and/or display name that's fine, but consider the potential of a search engine to discover you better if you used your real name. Especially if this is going to be more like a professional portfolio or research journal. I have been using my real name for some time now, and it always pleases me when I do a Google search on my own name just how much comes up. Google is becoming my professional portfolio!

Anyway, click the orange arrow that says continue when you've filled all this stuff out. Its down on the bottom right of the screen.


Step 2. Name your blog. All this is pretty self explanatory, but thanks to the exploits of dodgy advertisers using robotic spam advertising strategies, Blogger has been forced to put in a field to check that you are not just a robot setting up false accounts. Many account services ask you to recognise letters and numbers within pictures, and that way check that you are a human user. The funny skewiff letters are actually a distorted picture file. You are required to repeat the letters you see to bad if you can't see I guess. I hope Blogger comes up with a new way to prevent spam attacks soon because many users rely on robots to halp them navigate screen content, people with poor eyesight for example. Blogger needs to find a new way to block spam so those of us with poor eyesight will be able to set up blogs without the assistance of others. In the mean time, users relying on such technology may want to try other services, and there are many, and get a friend to get them past this one and only hurdle.
Click the orange continue when done.


You can see that spam is quite a problem if Blogger requires you to prove you are human again. We are still on step 2 with Blogger asking us to repeat the letters in the picture again.
Click continue when done.


Given the popularity of Blogger it is likely that many many blog address URLs are already taken. In this case, I tried to create a but someone else has already done that one. If you are having trouble getting a satisfactory name for your blog with Blogger, it may be a good reason to use one of the other free weblog services. I'll change mine to joblogsportfolio.
Click continue when done.


At last we have made it past the troublesome step 2. We have proved to blogger that we are not a robot, we have found an address that is not being used, now we need to choose a design for our blog. You can scroll down through a number of available templates and preview each of them by clicking the preview template link beneath each thumbnail graphic of the design range. When you have decided on one you need to click the little circle button corresponding to the design you like then press continue. Don't worry, it is very easy to change the design you have chosen at any stage in your blogspot's life.


Success! Our blog has been created, we can now start posting articles to our journal be clicking the orange arrow again titled start posting. But I'd just like to say that while this went well for us today, sometimes those 3 steps can go wrong at any point and come back with errors. Just keep persevering if this happens to you, while errors may block you along the way, you will eventually get through, and you may even discover that for every attempt you made, a blog was actually created in your account and you have ended up with 3 or more blogs! Its easy to delete these excess blogs later on, so don't worry. You can't break anything at this stage so try away.


So I have clicked the settings tab and there are quite a number of subtabs including basic settings, publishing settings, formatting, comments (yes, you can allow or disallow people to post comments to your blog), archiving, site feed (and this is where web journaling networks really come into a realm of their own - to learn more about using site feeds, see my screencast called Bloglines), and then there are settings for getting your blog to send you an email everytime a comment is made, as well as an option to use your email to send new posts to your blog, and finally, there is a members setting for creating group blogs.

Next to the Settings tab is another important tab called Template. This is where you can choose another template design to change the look of your site, and you can do this at any time without loosing content.


So I have clicked the settings tab and there are quite a number of subtabs including basic settings, publishing settings, formatting, comments (yes, you can allow or disallow people to post comments to your blog), archiving, site feed (and this is where web journaling networks really come into a realm of their own - to learn more about using site feeds, see my screencast called Bloglines), and then there are settings for getting your blog to send you an email everytime a comment is made, as well as an option to use your email to send new posts to your blog, and finally, there is a members setting for creating group blogs.

Next to the Settings tab is another important tab called "Template". This is where you can choose another template design to change the look of your site, and you can do this at any time without loosing content.


So there are 2 subtabs under template. One is "edit current" in which you can get your hands dirty with the source code and really start customising the look of your site. If you don't have any idea about this now, it is surprisingly easy, and even a little fun. Certainly easy to learn - standing on the shoulders of giants so to speak. The base code is there for you to change around, and you can always revert back to the original template if you stuff it up.
If you are not ready to play with this code stuff, then the other subtab will offer you a bigger range of templates to apply to your site. Also, a Google search for blogger templates will turn up a huge selection of free templates designers are giving away, its really limitless. Have fun.
Now, up in the top right are some blue buttons, one of which says "back to dashboard". This will take you to your main admin page, where if you have more than one blog you can switch between them, and you can edit your profile. Lets take a look.


Yes, that is the picture I use in my profile, and yes, that is how many blogs I maintain. I really get a hell of a lot out of blogging. It is my Internet identity I guess. I have met so many people who are interested in the same things as I am, and it has certainly been useful for impressing employers and for teaching the odd group of students. Some blogs I keep have been deleted as they were only temporary anyway, others I have not posted to in ages, and others I post to all the time. What you do with this Blogger service is really up to you. I have seen some people use it as a presentation tool alternative to powerpoint, others use group blogging to capture communication and links for a group project, others use it to sell stuff, and others use it to draught books. I use it to develop my internet identity and to network with potential partners in collaborative projects. It has done well for me so far.


Creative Commons License

This work is licensed under a Creative Commons License.